Storyboard Updates In Depth Tutorial - Part 3
In this tutorial, you will learn how your existing application project can benefit from Bounces dynamic storyboard updates.
Part 3 - Dealing with Complex View Controller State
Welcome to the third part of this Storyboard Updates In Depth Tutorial! In the two first parts, you have configured an existing PhotoAlbum app project for dynamic storyboard update, you have experienced how dynamic storyboard updates allows for instant testing of storyboards edits in the app running on a device or simulator, and you have learned how to preserve controller state and view state during storyboard updates.
If you have gone through all steps of this tutorial second part, you can reuse the current state of your PhotoAlbums Xcode and Bounces projects. Otherwise you can download the PhotoAlbums project (step 2).
Open the Xcode and Bounces projects and run the PhotoAlbums app.
Adding a Page Controller to the PhotoAlbums app
In the Photo View Controller, it would be nice to navigate to the next or previous photo in the current album with a horizontal swipe gesture.
Currently the app Main storyboard declares four view controllers.
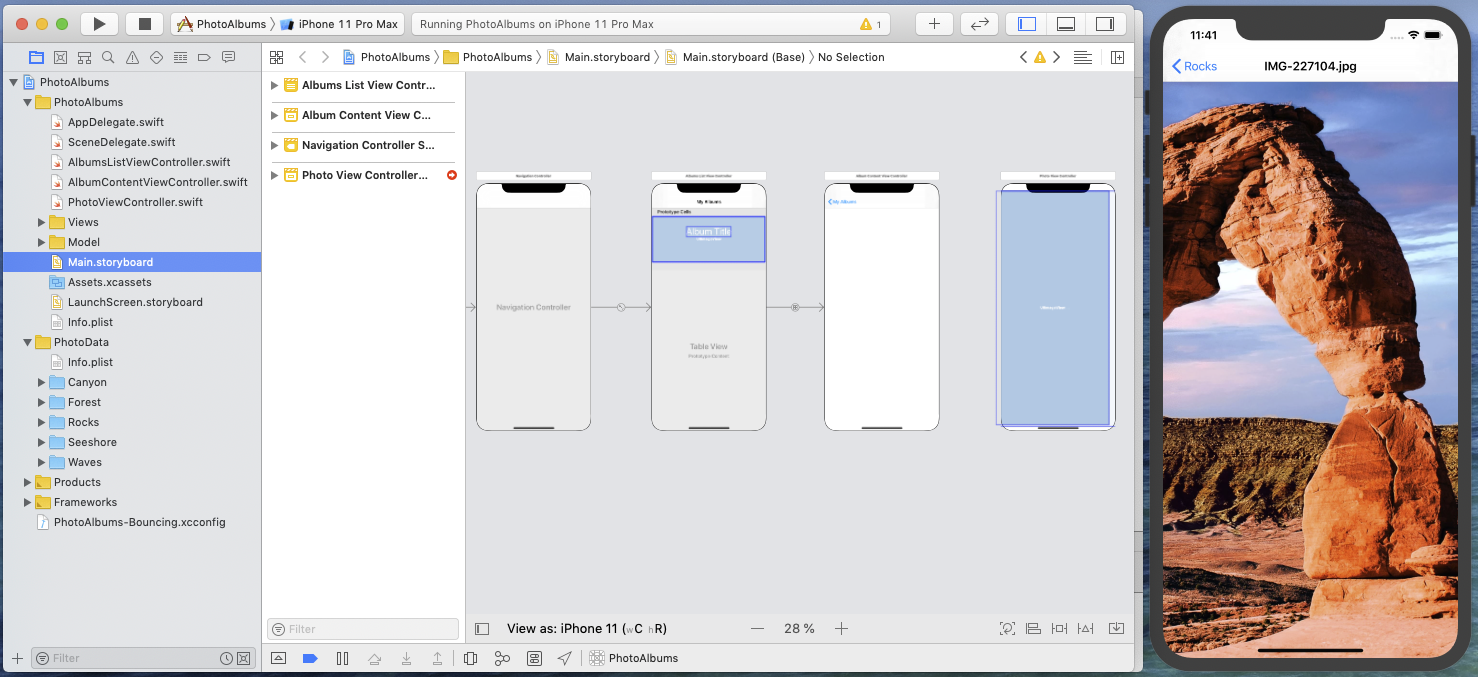
To implement swipe-based photo navigation, UIPageViewController certainly is a good candidate. And to make things easy, you can find a dedicated page view controller for browsing through a photo album already implemented in the project directory at path Extra Source Files/AlbumPageViewController.swift. Add this source file to the PhotoAlbums Xcode project.
In the application view controllers architecture, an Album Page View Controller will be inserted between the Album Content View Controller and the Photo View Controller. This means that an Album Page View Controller will be presented when a photo thumbnail is tapped in the Album Contrent View Controller, and that each page presented by this Album Page View Controller will be a Photo View Controller instance.
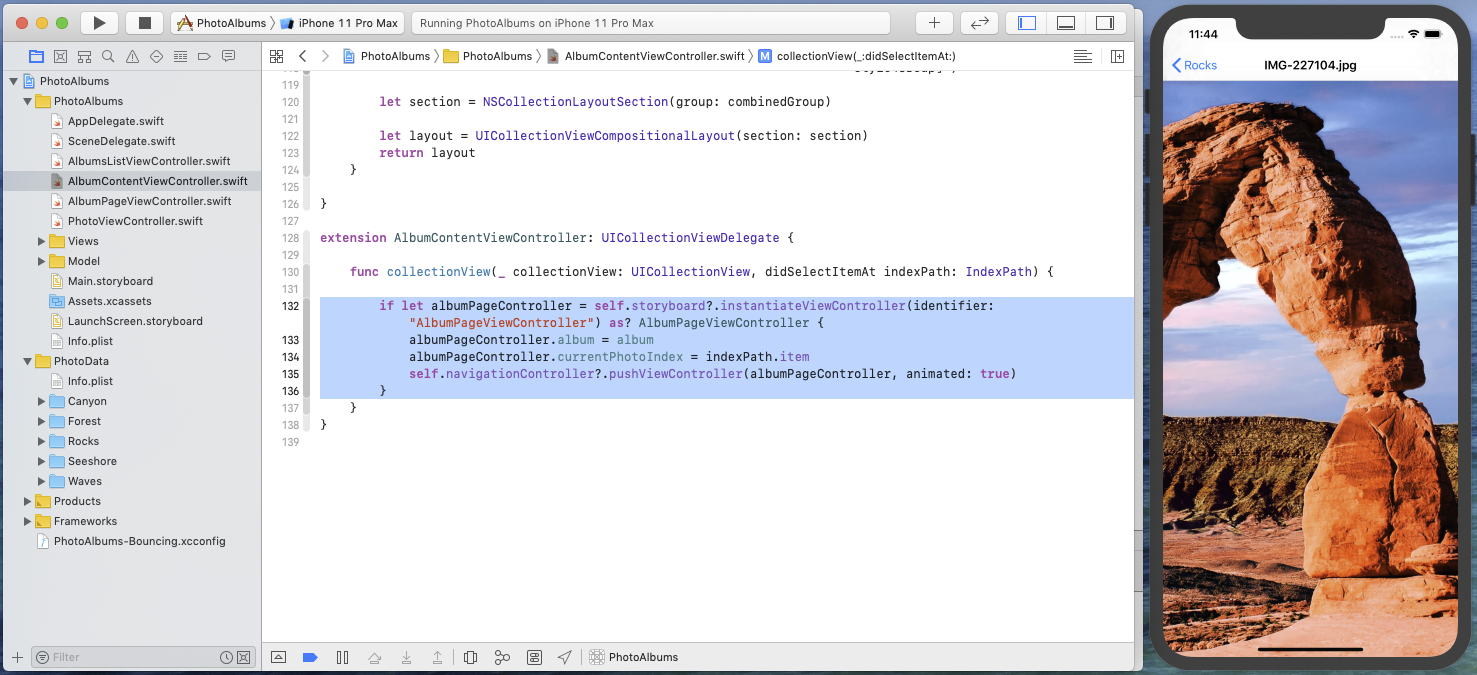
Therefore we have to modify the code in AlbumContentViewController.swift to instantiate an AlbumPageViewController, instead of a PhotoViewController, when a collection view cell is selected.
To do so, replace the content of method collectionView(_:, didSelectItemAt indexPath:) with the following code:
func collectionView(_ collectionView: UICollectionView, didSelectItemAt indexPath: IndexPath) {

    if let albumPageController = self.storyboard?.instantiateViewController(identifier: "AlbumPageViewController") as? AlbumPageViewController {
        albumPageController.album = album
        albumPageController.currentPhotoIndex = indexPath.item
        self.navigationController?.pushViewController(albumPageController, animated: true)
    }
}
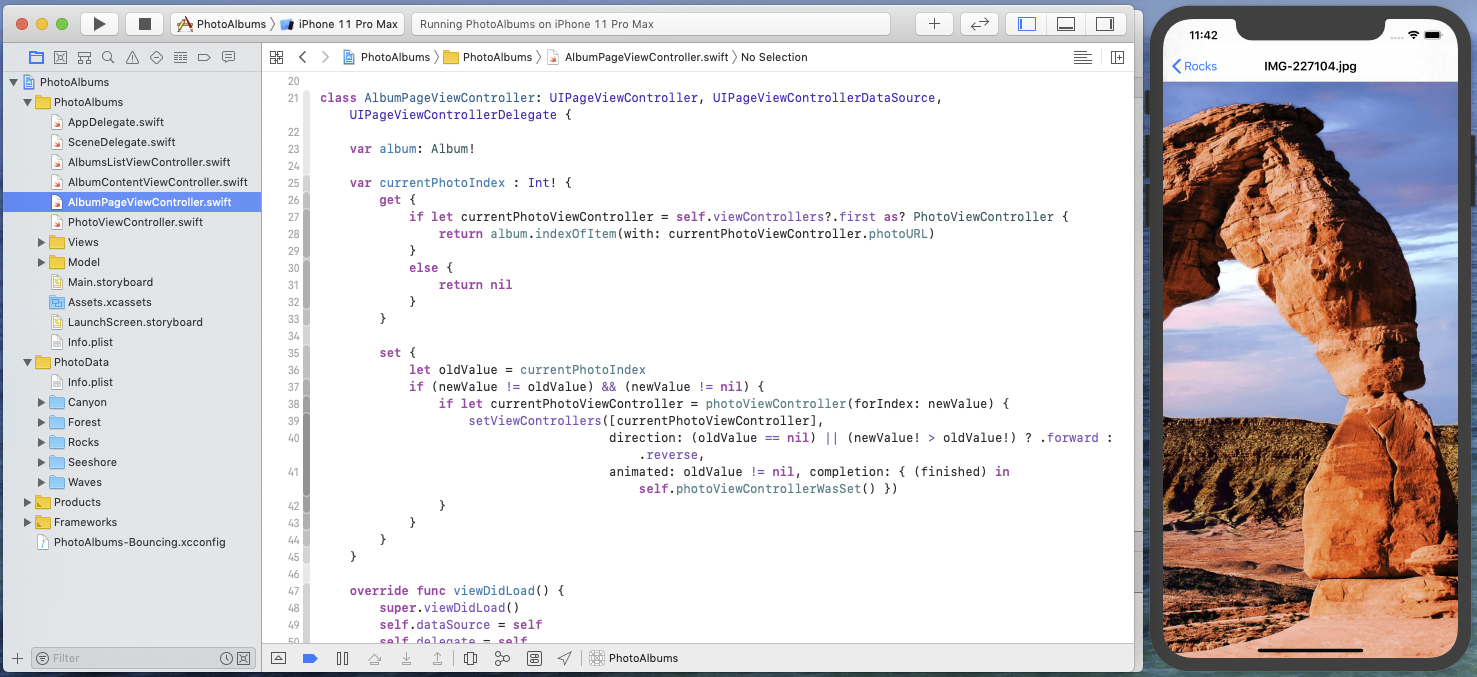
Notice that an Album Page View Controller is configured by setting two properties: the current photo album and the index of the selected photo. As you have probably already guessed, these two will constitute the state properties of Album Page View Controller when configuring it for dynamic updates.
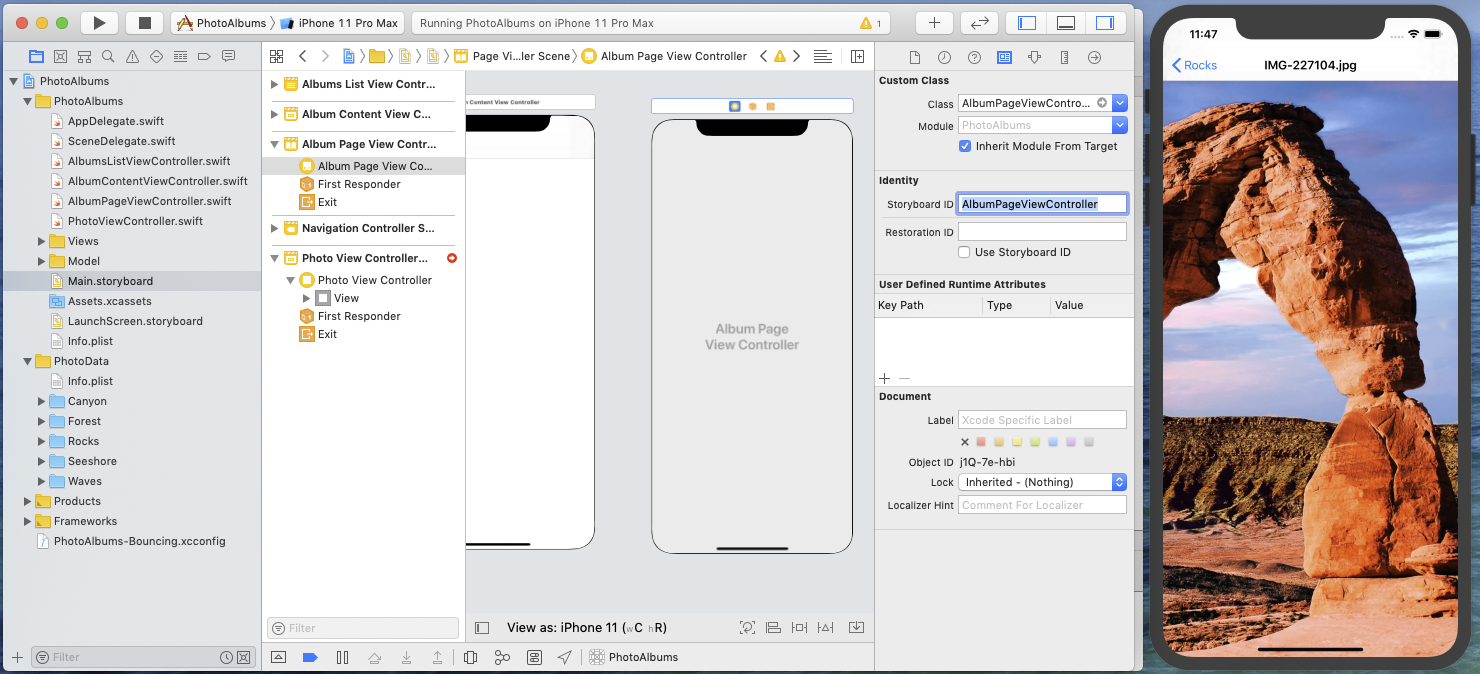
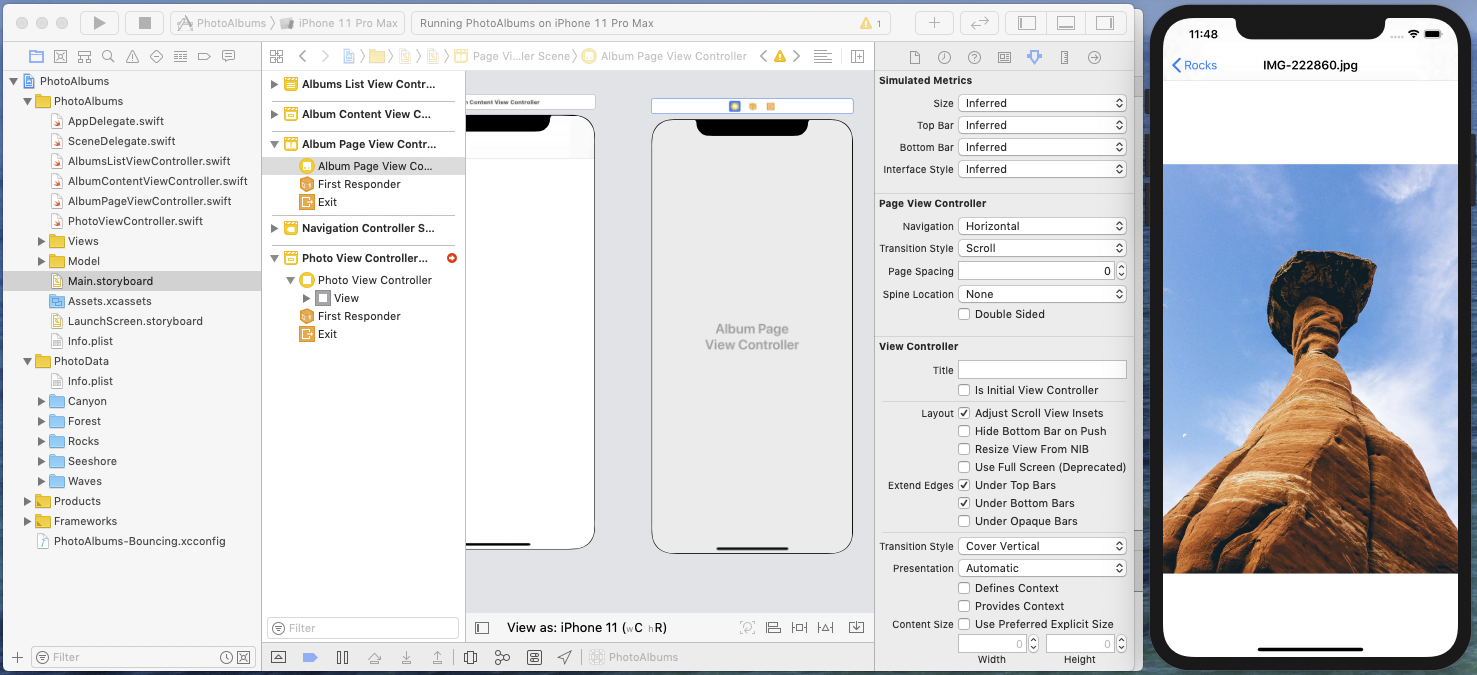
Now switch to the Main storyboard, add a Page View Controller and set its class and storyboard id to AlbumPageViewController.
In the Page View Controller attributes, set the transition style to *Scroll.
Restart the PhotoAlbums app from Xcode, and verify that you can navigate between photos in the current album using swipe gestures.
You can also check that inserting a view controller in the storyboard did not break dynamic update of the Photo View Controller: apply some zooming to the current photo, make an edit to the Photo View Controller in the Main storyboard, and save.
The current Photo View Controller gets updated while keeping its controller state (the currently selected photo) and view state (the visible photo area).
However if you edit the Album Page View Controller in the storyboard, the update is not applied to the running target application. This in not unexpected since we haven't yet configured this view controller for dynamic update.
Configuring the Page Controller for dynamic updates
You should now be pretty familiar with the way to make a view controller dynamic: switch to Bounces, display the Associated Xcode Project Target Configuration pane by clicking on the Xcode Project button in the toolbar, and select the AlbumPageViewController in the Storyboard ViewControllers list.

We now have to declare the state properties for this view controller. As discussed earlier, these state properties are the controller's album and currentPhotoIndex properties.
But currently the Associated Xcode Project Target Configuration interface does not show any candidate state property from the AlbumPageViewController class. And the reason for this is simple: as we have seen in the second part of this tutorial, only properties exposed to the objc runtime can be used as dynamic state properties.
So all we have to do is add an @objc attribute to the properties definition, right? If you try that, Xcode will show an error telling that "Property cannot be marked @objc because its type cannot be represented in Objective-C". Which is the case of most Swift types: classes not derived from an objc class, structs, enums…
Then how can we manage such state properties, since we obviously don't want to change the app model types for the sake of dynamic update?
Fortunately there is a simple and non-obtrusive way: property encapsulation. It consists in adding a controller property with a local type compatible with the objc runtime, that acts as a container of the desired state properties. And if you have installed Bounces code snippets for Xcode, adding a state property container is just a matter of typing a few characters!
Let's see how it works. In the AlbumPageViewController class, type the characters "objc". Xcode proposes various completions for this:
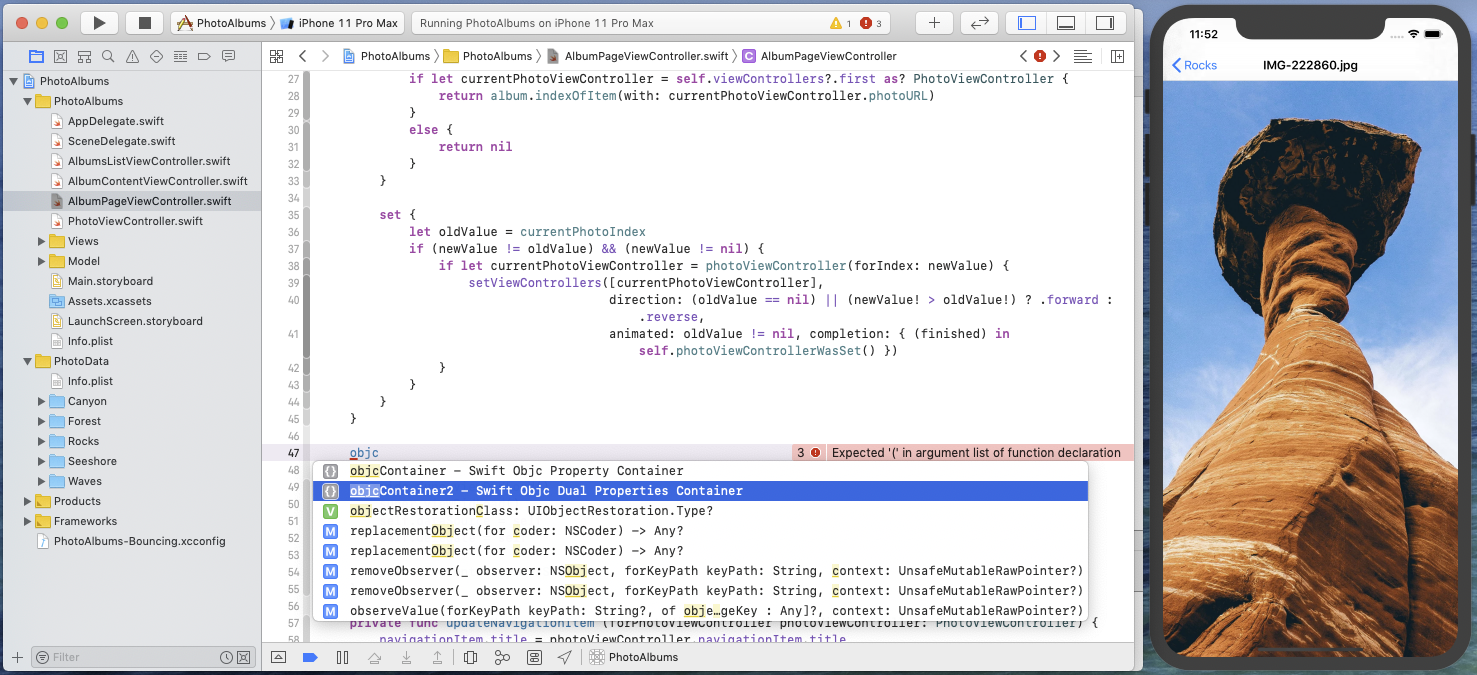
Since we have two state properties here, select the objcContainer2 snippet. The following code is inserted:
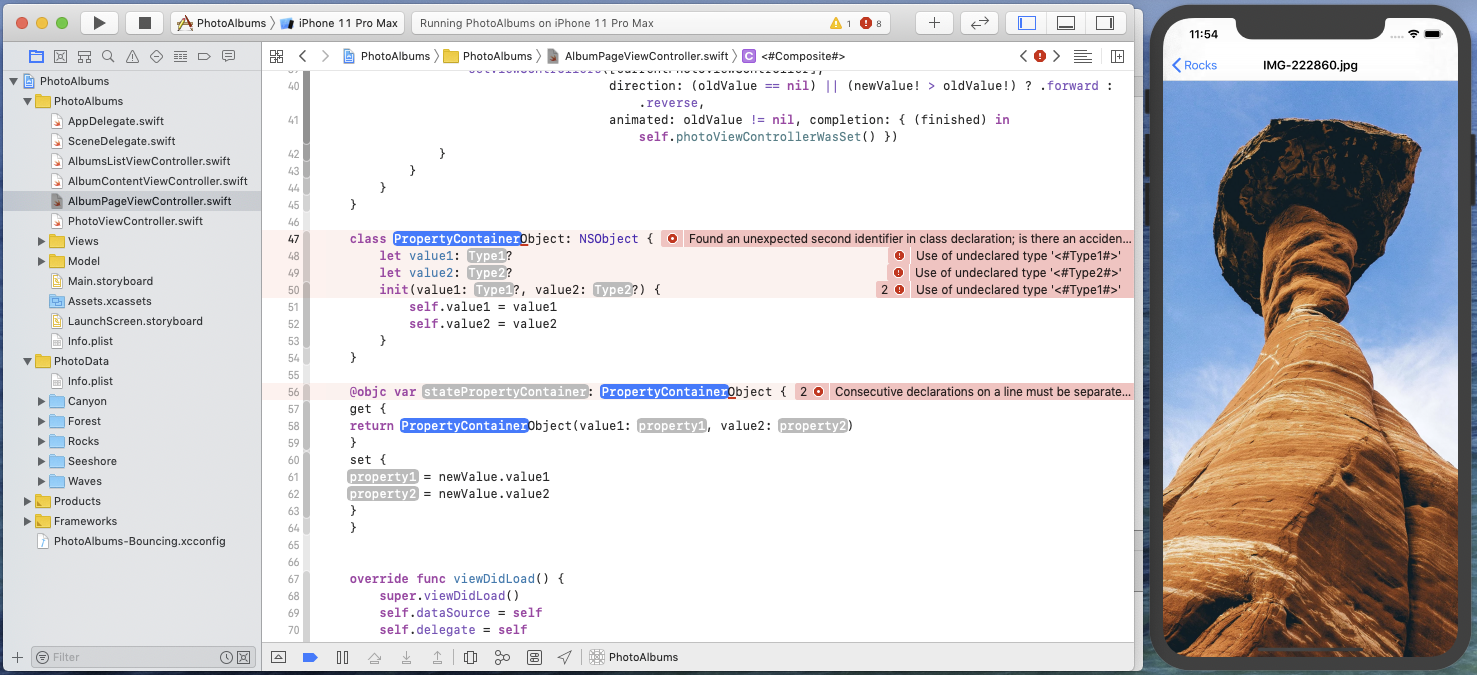
Replace the snippet's placeholders with the corresponding state property types and names:
Tip: in Xcode, to replace multiple identical placeholders, you can take advantage multiple selection: click on a placeholder, select every placeholder with the same name by repeating cmd alt E, and then type the replacement string.
- In place of
PropertyContainer, enter "AlbumEntry"; - in place of
Type1, enter "Album" (thealbumstate property type); - in place of
Type2, enter "Int" (thecurrentPhotoIndexstate property type); - in place of
property1, enter "album"; - in place of
property2, enter "currentPhotoIndex"; - in place of
statePropertyContainer, enter "albumEntry".
This results in the following type and property definition:
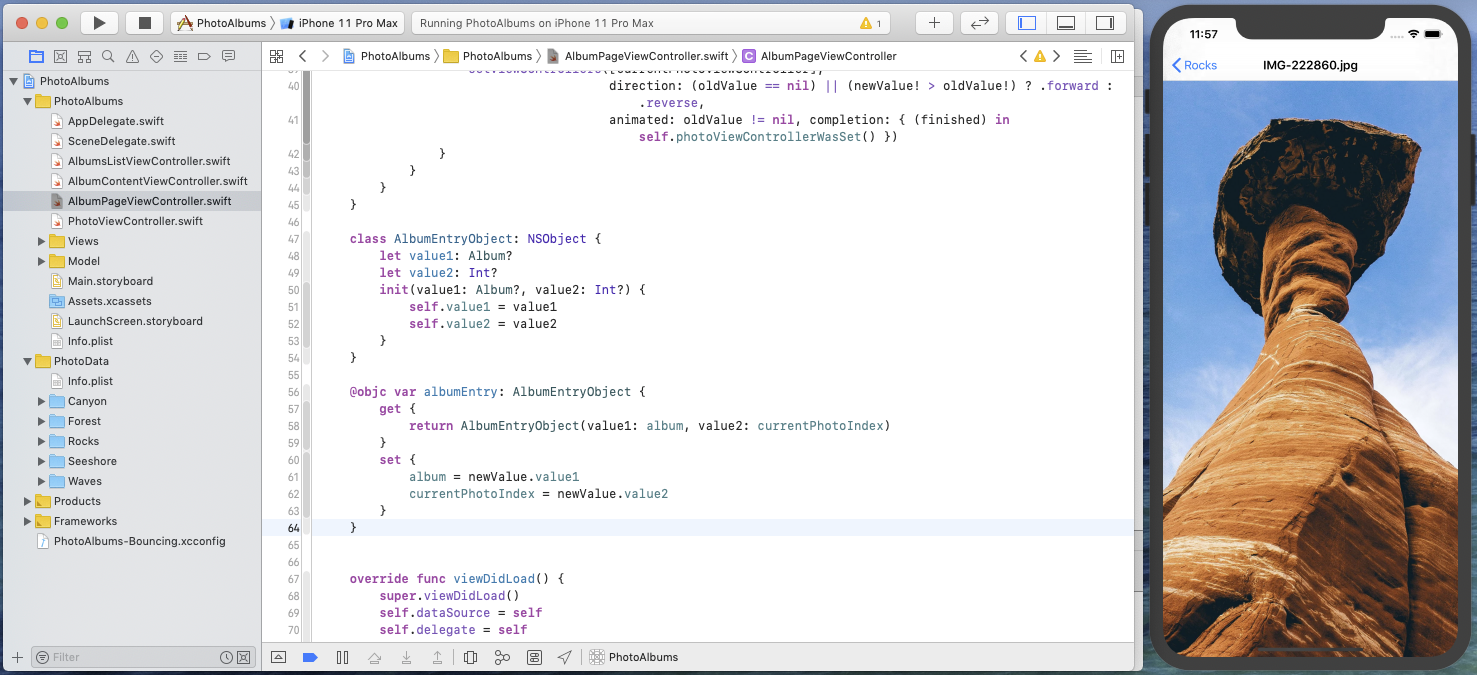
The albumEntry property is exposed to the objc runtime, and its getter and setter encapsulate the values of AlbumPageViewController's properties album and currentPhotoIndex.
You can now switch back to the PhotoAlbums Bounces project. albumEntry appears as a candidate state property of the AlbumPageViewController class, so you can select it and complete AlbumPageViewController's dynamic configuration.

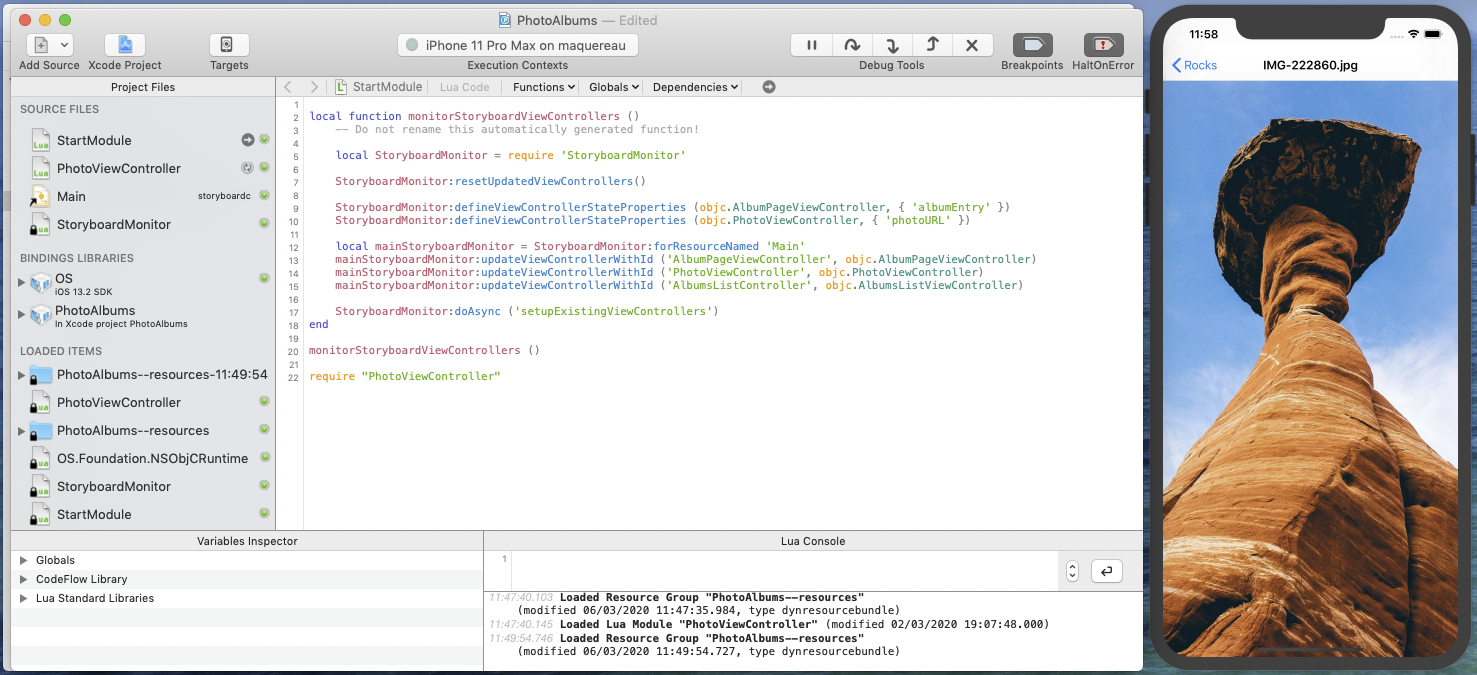
Dismiss the Associated Xcode Project Target Configuration pane by clicking on the Done button. The project StartModule is updated and it now looks like this:
Switch back to Xcode, re-run the PhotoAlbums app and navigate to a Photo View Controller. You are now ready to take advantage of dynamic updates in the Album Page View Controller.
Adding photo navigation buttons
In addition to swipe gestures, we want to add navigation buttons for moving to the next or previous photo in the curent album. These buttons will be positioned in the navigation bar.
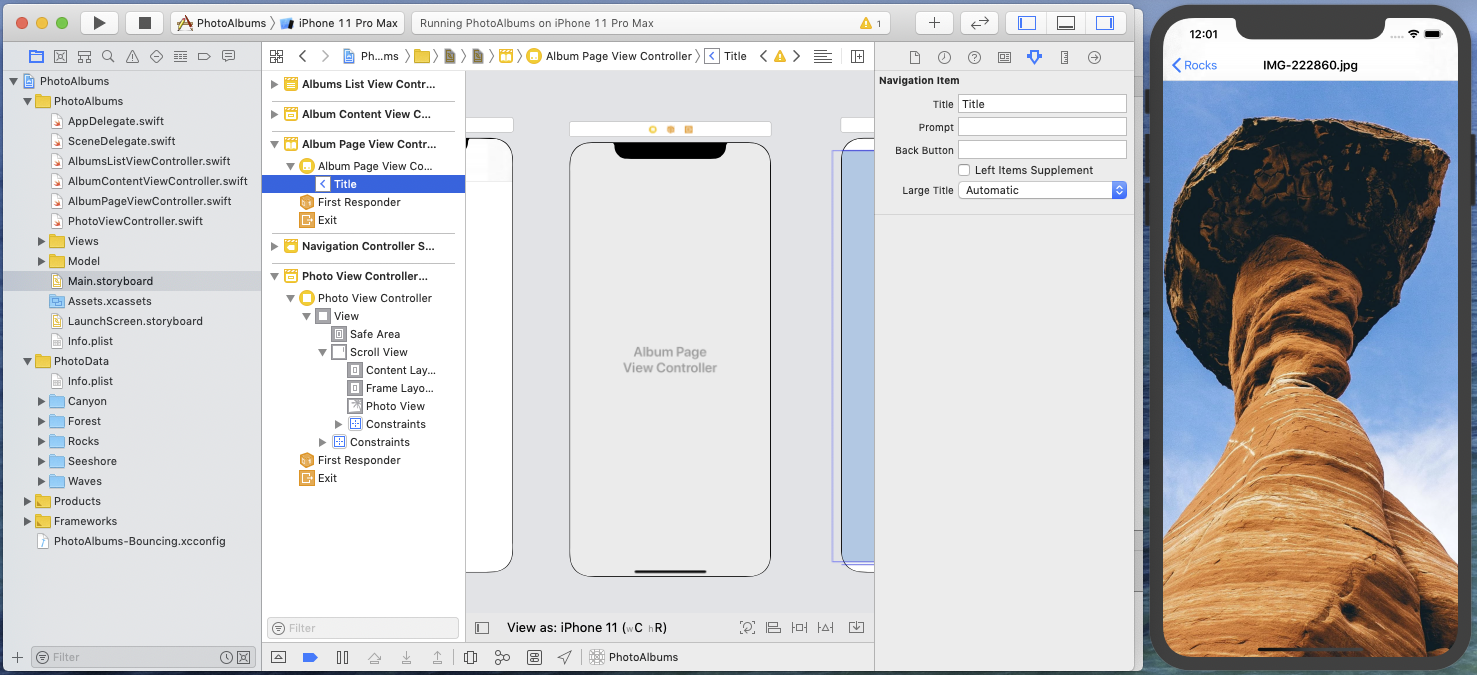
In the Main storyboard, add a navigation item to the Album Page View Controller.
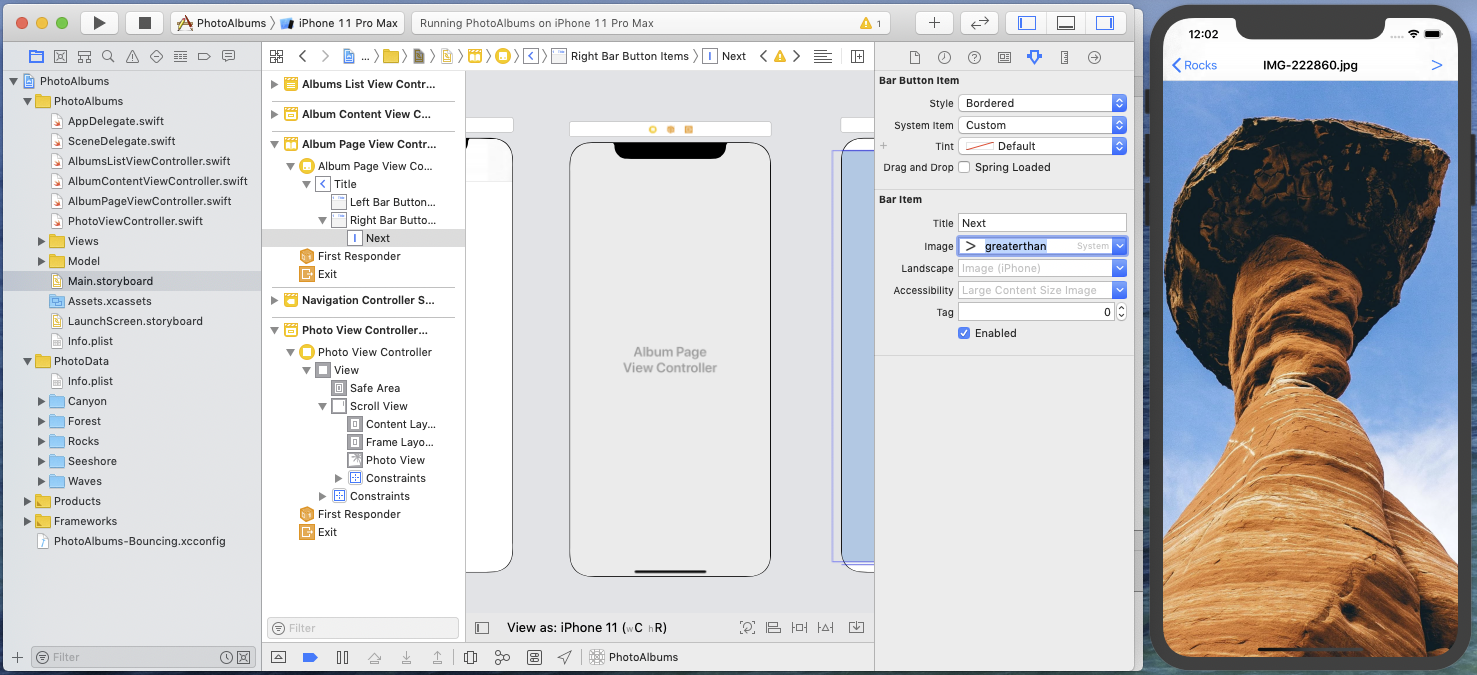
Add a bar button item into this navigation bar. By default, Xcode adds it to the Left Bar Button Items, so drag it into the Right Bar Button Items, set a title and a significant image for this button, and save.
The button appears in the navigation bar, confirming that dynamic updates are correctly configured for our Album Page View Controller.
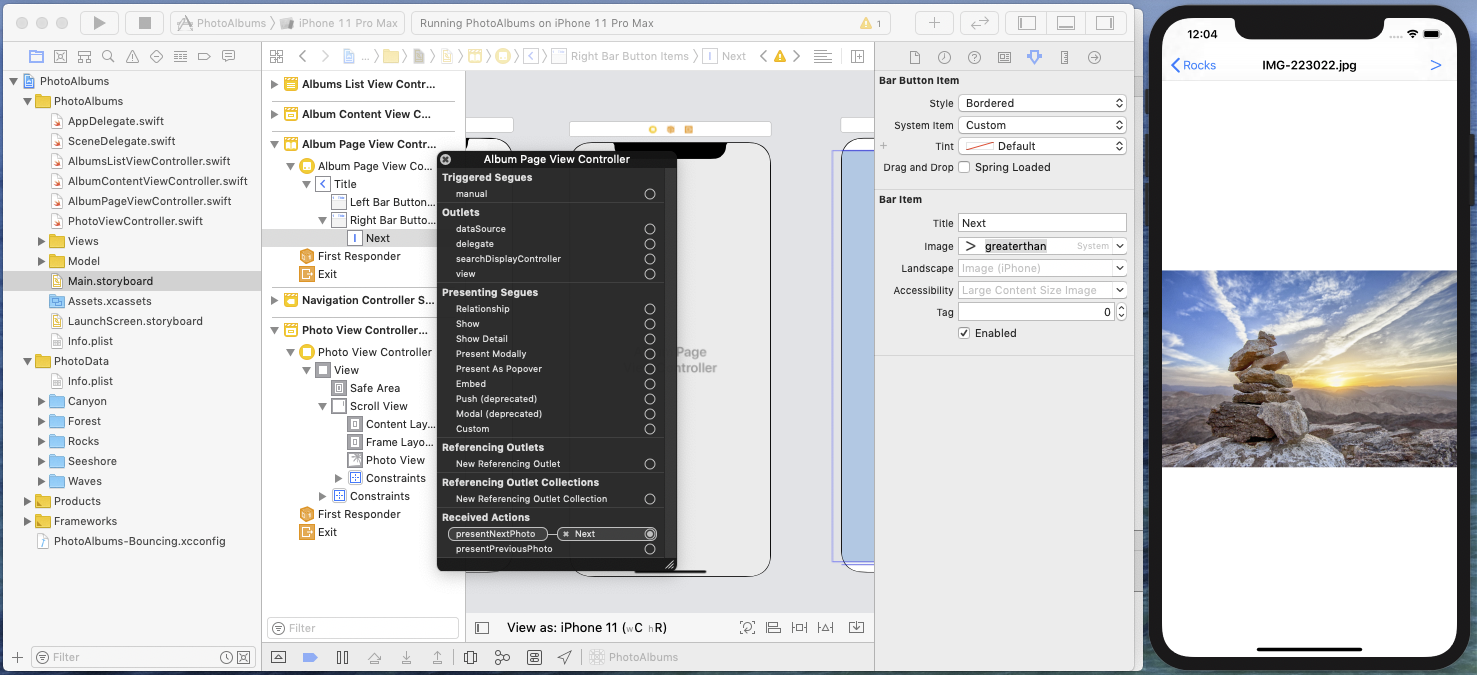
Connect the button action to Album Page View Controller's action method presentNextPhoto, save the storyboard, and when the update is done, use the button to browse forwards through the photo album.
Add another bar button item, configure it and connect its action to the controller's presentPreviousPhoto method.
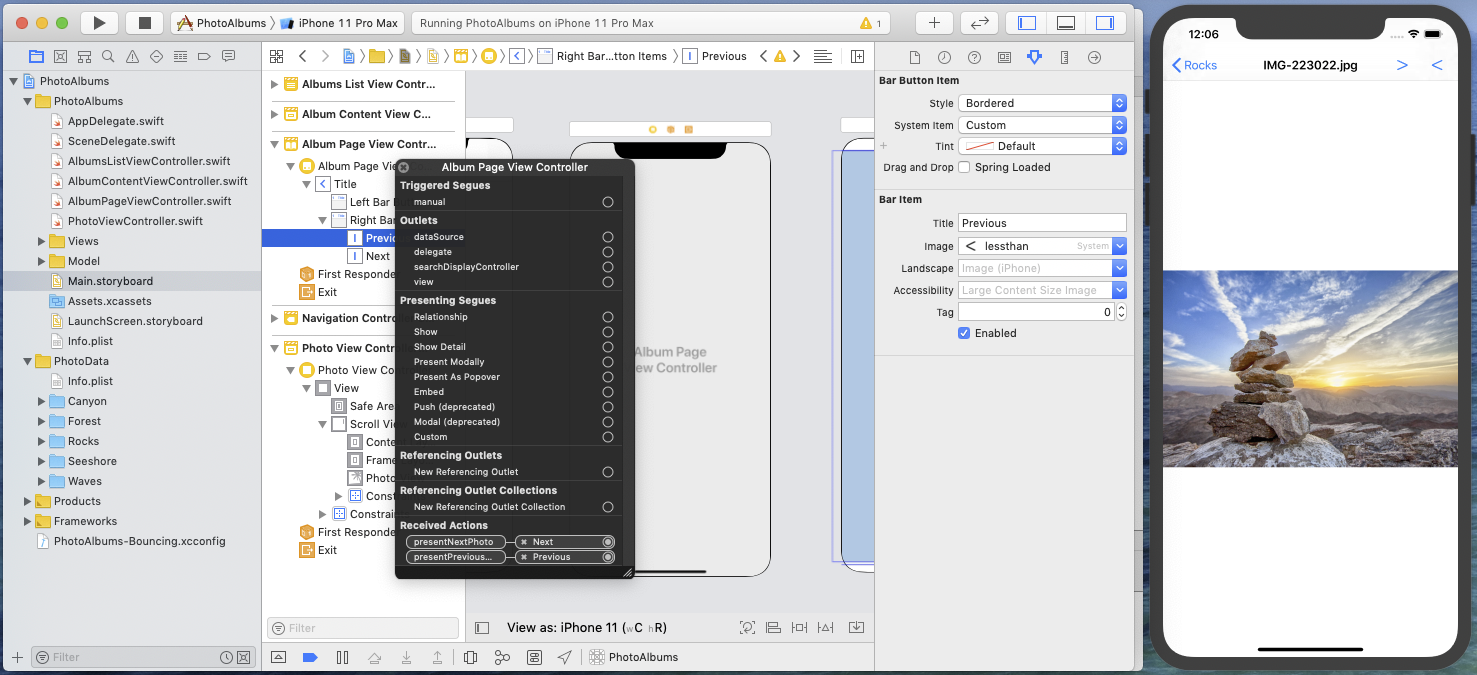
It looks that the buttons order is not the expected one…
Fix this by simply dragging the Previous button after the Next button in the controller's Right Bar Button Items.
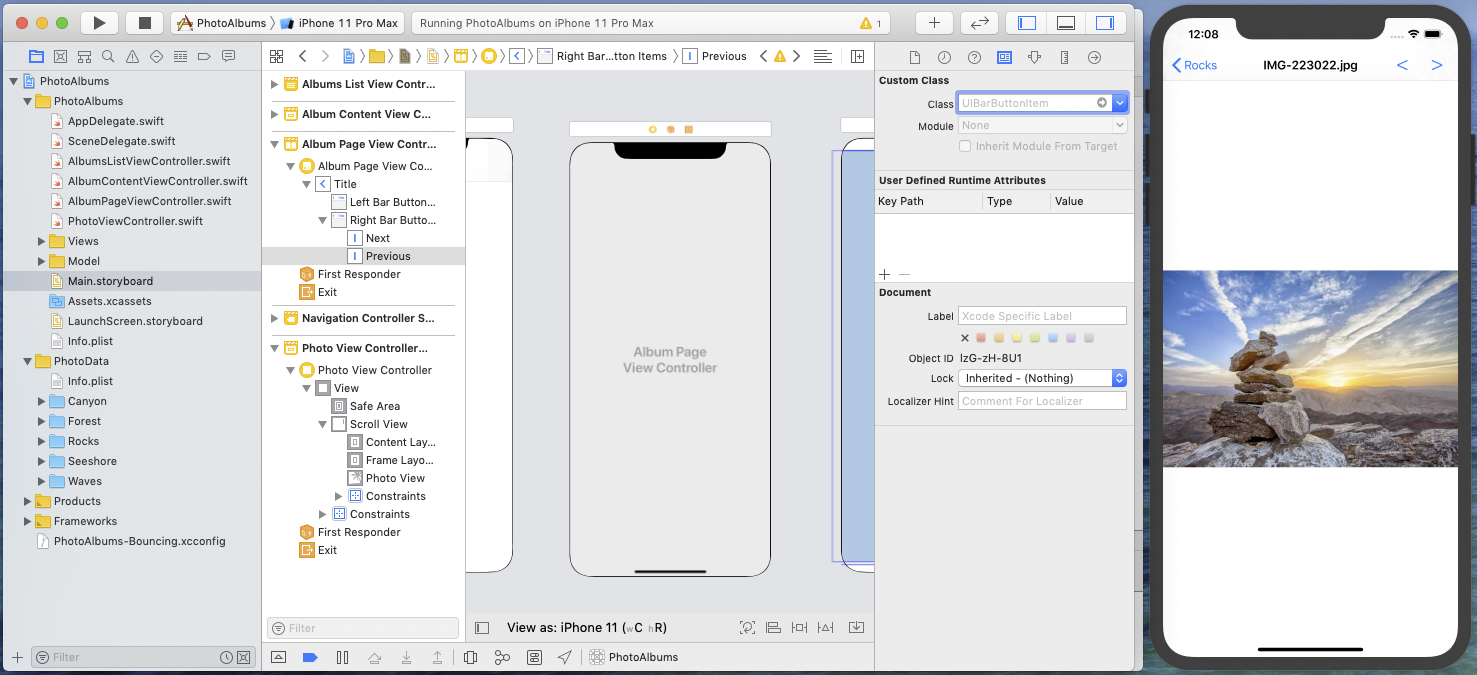
Navigation buttons appear now in the right order and you can use them to browse through photos in the current album.
Wrap up and next step
With this third part of the Storyboard Updates In Depth Tutorial, we have met a more-complex View Controller with several Swift-typed state properties and we've seen how to use property encapsulation to expose state properties to a Bounces execution context, when the direct addition of a @objc attribute is not possible.
If you want to test the PhotoAlbums project in its current state at this point, you can download the PhotoAlbums project (step 3).
In the fourth and final part of this tutorial, we will dynamically add and configure a container-view-based view controller to display the current photo's metadata, and you will learn how you can dynamically add IBOutlets in the Xcode project and use them in your code without having to restart the target application.